
Crocodile Stitch – Solid Foundation- Photo Tutorial
This variation I came up with because of the need for the look of the Crocodile Stitch, but needed a more solid foundation. The Basic Crocodile Stitch is made with ch2 spaces between the scales, making it an airy fabric. That means lots of holes, even if you don’t see them from the front.
My husband wanted a “Dragon Scale” pouch to put dice and a MTG Commander deck box into and I found that the Crocodile Stitch “as is”, even with a fabric lining, wasn’t sturdy enough. So I frogged what I had done and started over.
What this variation does is replace the ch2 spaces with double crochet stitches, making less gaps and holes in the fabric. Granted, there are still a few, because the center of the scales still make a small gap in the fabric, but they are small compared to the ch2 spaces, and with fabric lining, it’s sturdy enough for a good pouch or a bag. It also make this a much heavier fabric and you will go though a lot more yarn than with even the Basic Crocodile Stitch.
This tutorial will be done flat, but it can be easily converted into the round.
Stitches used are in US terminology
Note: I am right handed, for left handed stitchers, the photos would be in reverse.
Terms used with abbreviations:
ch – chain
dc – double crochet
slst -slip stitch
st(s) – stitch(es)

First, you want to chain a multiple of 6, plus 3
Note: I do suggest chaining the starting chain very loosely, using 1 hook size larger for the starting chain only, or, as an alternative, you can use the Foundation Single Crochet Stitch (fsc) with a multiple of 6, plus 1, then ch2 and make a dc in the 1st fsc, then following the rest of the set up foundation row steps.
I started with ch27
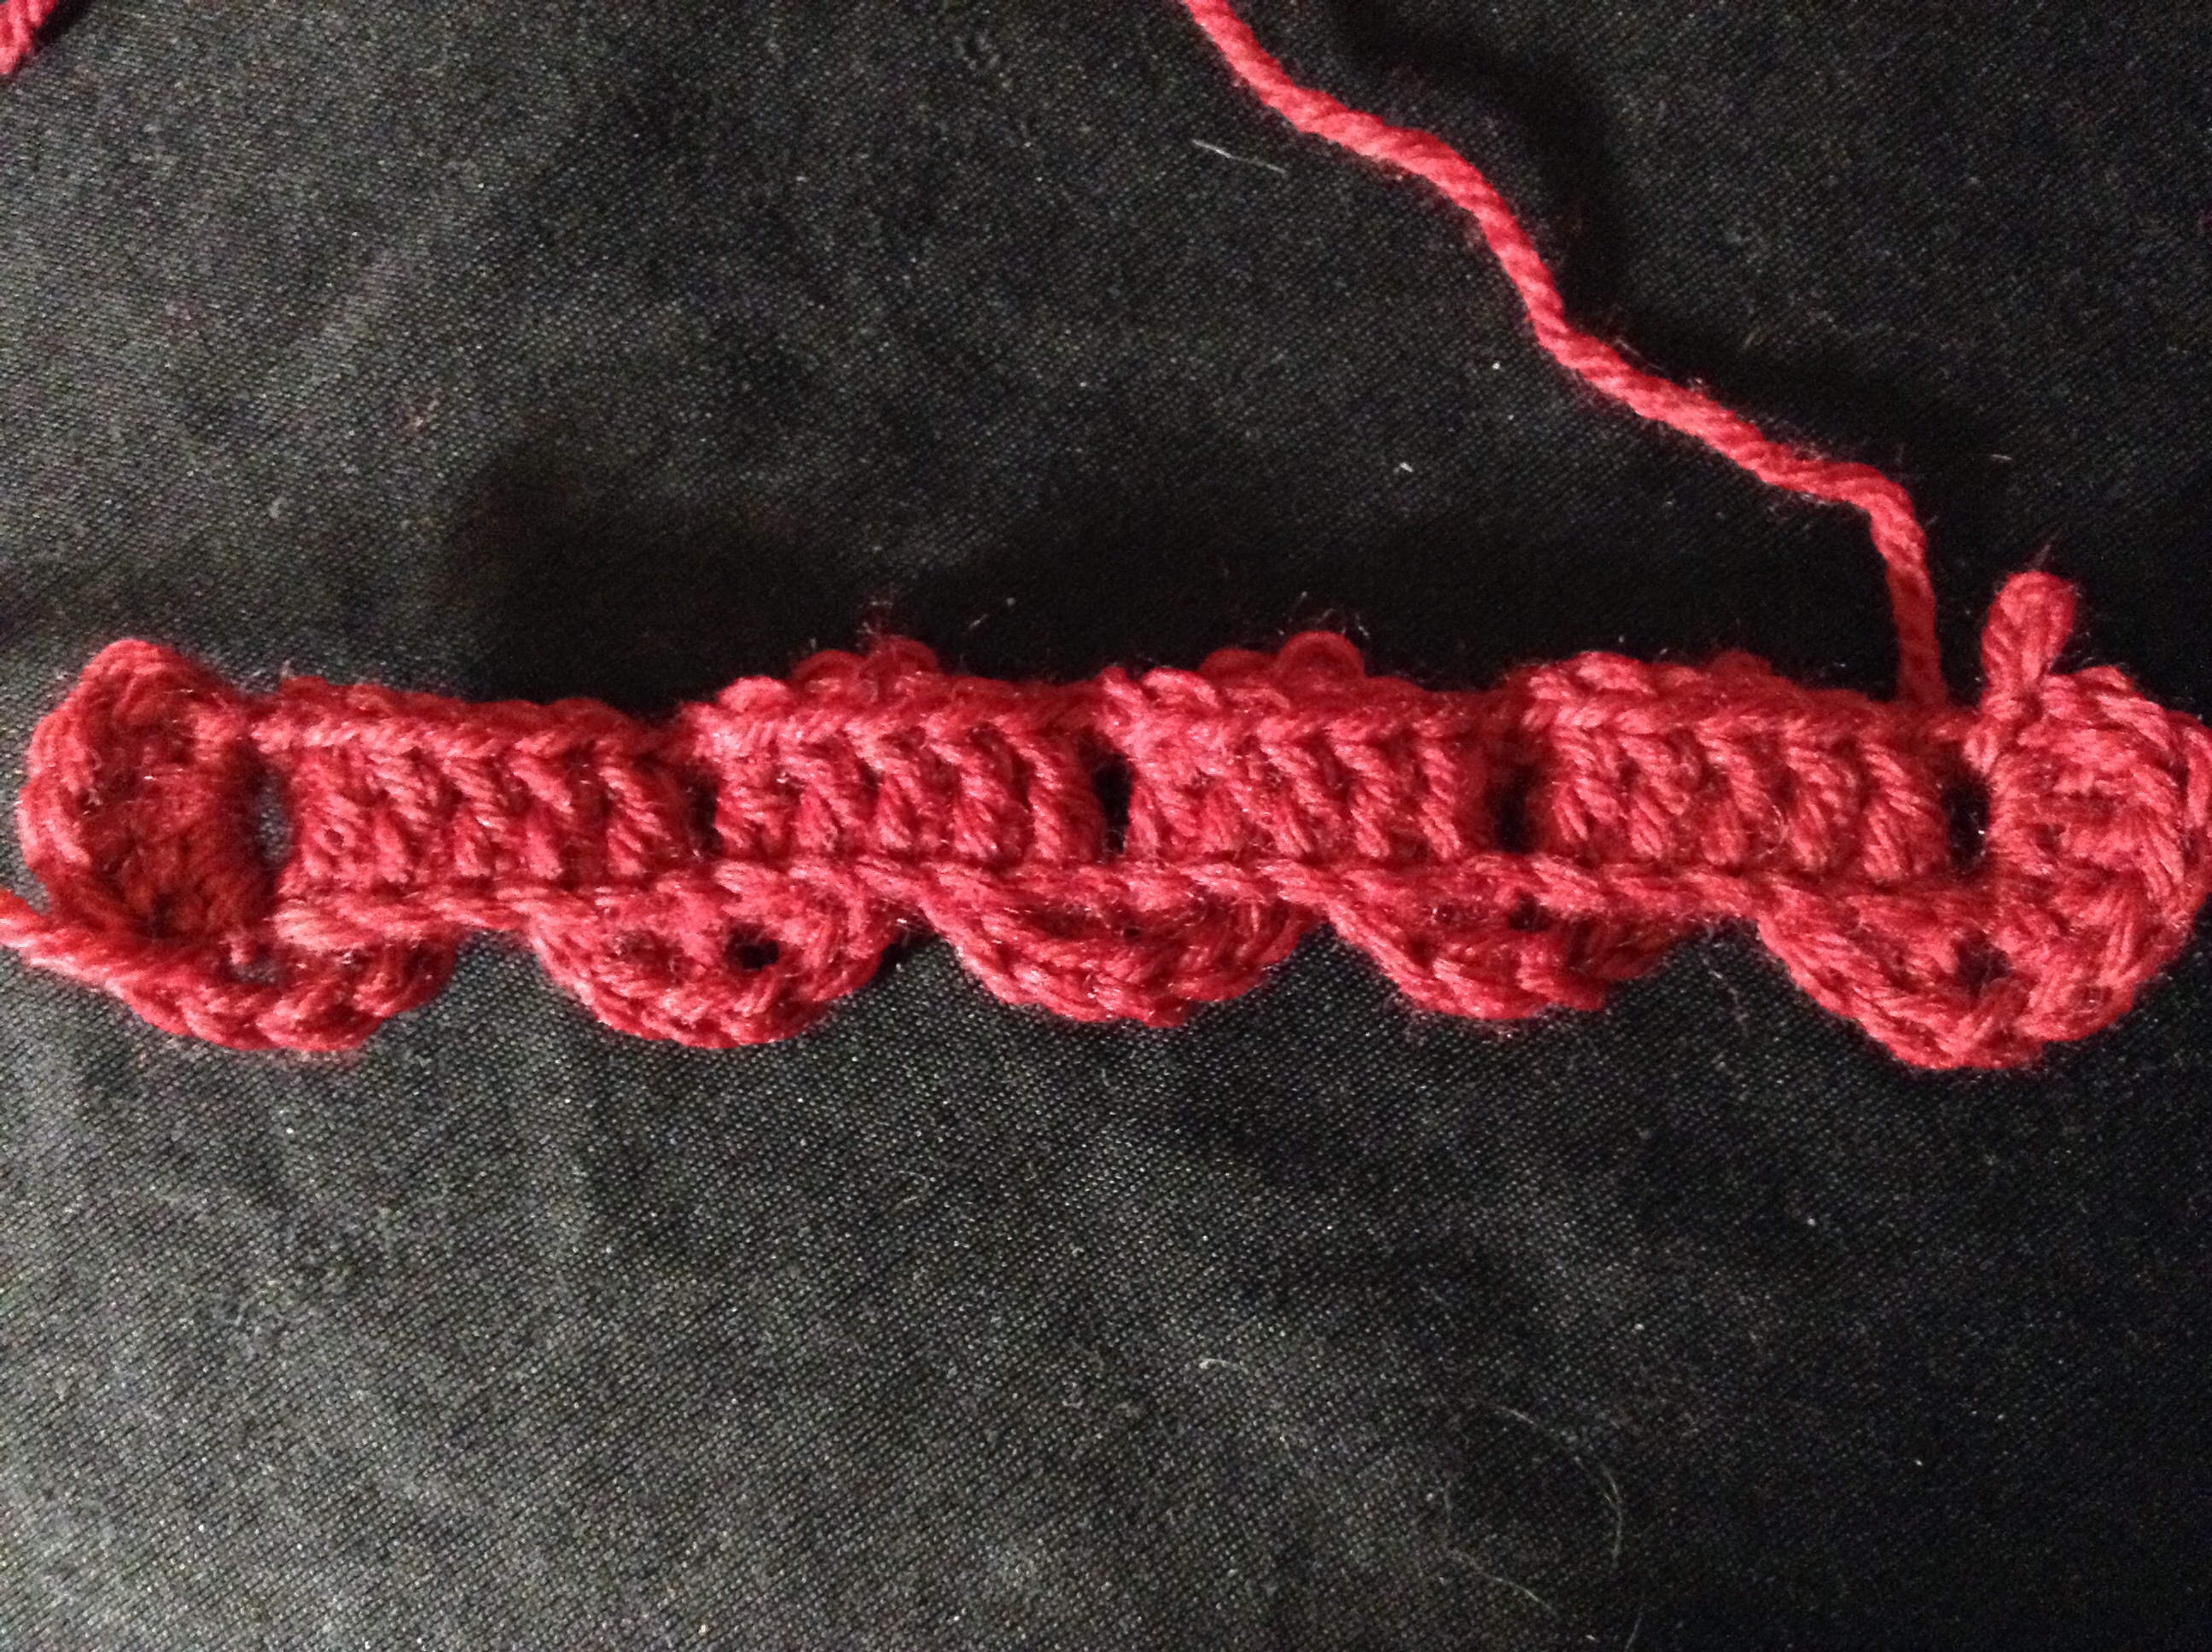
Set up Foundation Row: (wrong side) dc into 3rd ch from hook, [dc in next 5 sts, 2dc in next st] across.

Scale Row 1 Step 1: with wrong side still facing, turn work so the last dc made is horizontal on top, ch2, 4dc around the post, ch1.

Scale Row 1 Step 2: (right side) Turn work with right side facing, keeping work horizontal, fold ch2 and 4dc just made to the back, making the next dc horizontal on the top of work, make 5dc around the post, ch1.

Scale Row 1 Step 3: (right side) Skip next 5dc, fold work so that the next dc is horizontal and on top of work, 5dc around the post, ch1.


Scale Row 1 Step 4: (right side) flip and fold the work again so the scale(s) and 5dc just made are away from you and the next dc is horizontal at the top of the work, make 5dc around the post, ch1.


Scale Row 1 Step 5: Repeat Steps 3 & 4 until the last 6dc and ch2, repeat Step3 one more time while holding the ch2 at the back of the work.

Scale Row 1 Step 6: Turn work so that the wrong side is now facing and the ch2 is horizontal at the top of the work, make 4dc around the ch2, ch2, slst into the center of the scale just made.


Wrong Side:
Right Side:

Foundation Row 1 Step 1: (wrong side) ch3, dc in next 2 dc, 2dc in next dc and around the ch1 between 2 scales.
Top:

Wrong Side:

Right Side:

Foundation Row 1 Step 2: Dc in next 2 dc, dc in center of next scale.
Wrong Side:

Right Side:

Foundation Row 1 Step 3: [dc in next 2 dc, 2dc in next dc and around the ch1 between 2 scales. repeat Step 2] until end of row, dc in center of last scale.
Wrong Side:

Right Side:

Scale Row 2 Step 1: (right Side) Ch1, turn so right side is facing, skip 2 dc, fold work so next dc is horizontal at the top of the work, make 5dc around the post, ch1.


Scale Row 2 Step 2: (right Side) flip work, fold so that the next dc is horizontal at the top and the 5dc just made are at the back facing away from you, make 5dc around the post, ch1.


Scale Row 2 Step 3: (right side) Skip next 5dc, fold work so next dc is horizontal and at the top of the work, make 5dc around post, ch1.


Scale Row 2 Step 4: (right Side) flip work, fold so that the next dc is horizontal at the top and the 5dc and scale(s) just made are at the back facing away from you, make 5dc around the post, ch1.


Scale Row 2 Step 5: Repeat Steps 3 & 4 across, slst in 3rd ch of ch3.
Right Side:

Wrong Side:

Foundation Row 2: (wrong side) Ch2, dc in 3rd ch of ch3 and around the sc of scale row, [dc in next 2 dc and in the center of next scale, dc in next 2 dc, 2dc in next dc and around the ch1 between 2 scales] until ch3 at end of row, making 2dc in the 3rd ch of ch3.
Wrong Side:

Right Side:

From here, repeat all of the Steps for Scale Row 1, Foundation Row 1, Scale Row 2, and Foundation Row 2, in that order until desired size.
Right Side:

Wrong Side:

As you can see, the fabric will curve with the Foundation Rows, because of the extra double crochet stitches, but once the Scale Rows are made, the fabric will straighten out nicely.
The Lapis Dragon Skin Pouch uses this stitch, but in the round. The pattern can be purchased HERE for $2.50.

Disclaimer: I do not own, nor do I claim, this stitch pattern. I am just sharing my technique on how to make it.


Leave a comment